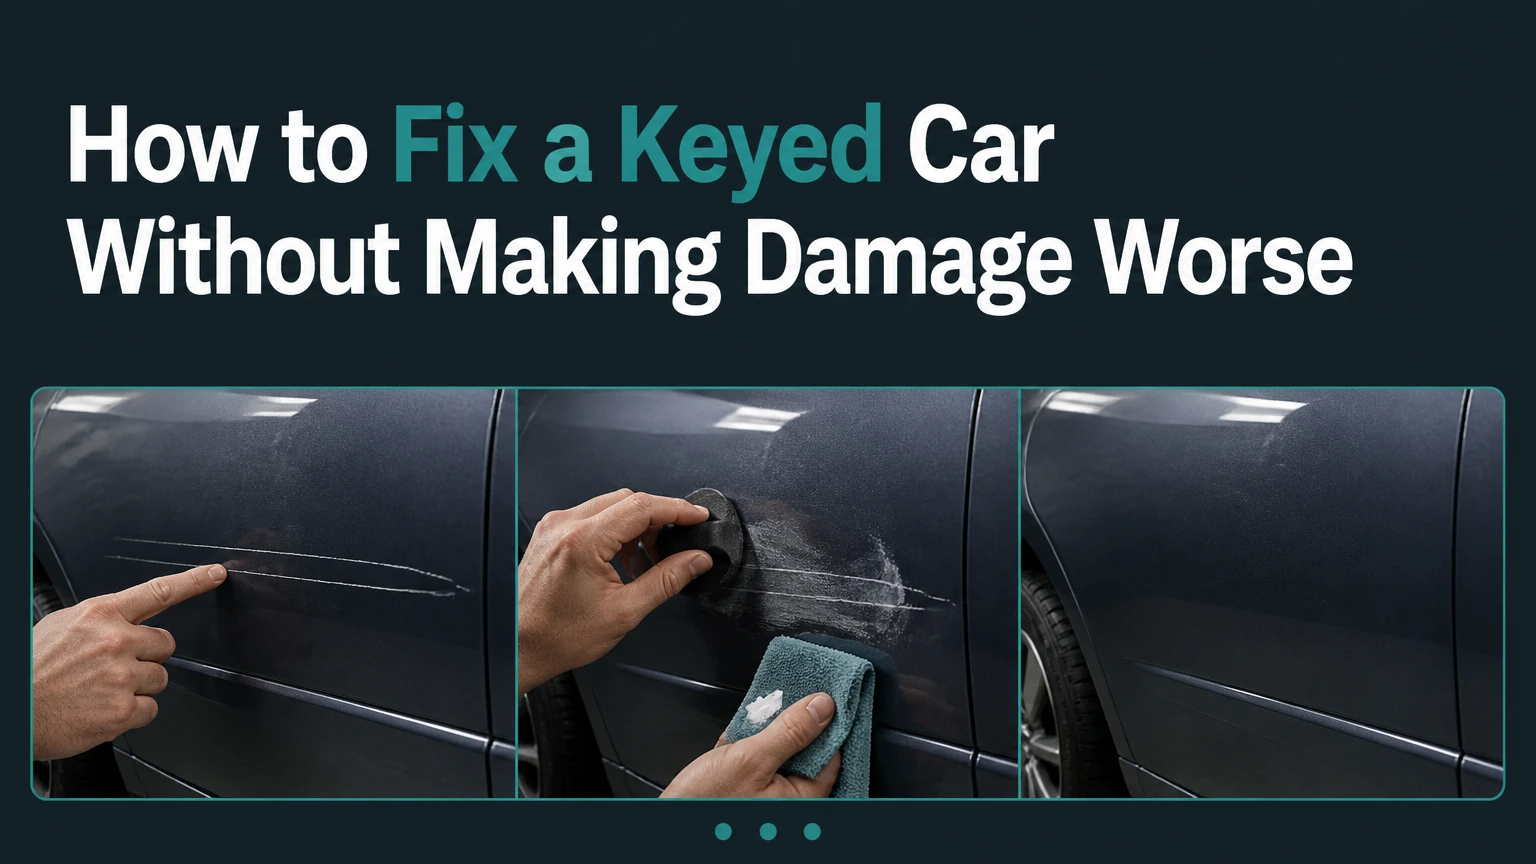
To fix a keyed car, first identify whether the scratch affects only clear coat, reaches the color coat, or exposes primer or metal. Polish clear-coat marks, use correctly matched touch-up paint for narrow exposed areas, and choose a professional refinish for long, deep, or multi-panel damage. The wrong repair can enlarge the defect or cause corrosion.
Key facts
A fingernail test provides a useful indication, but only clean, well-lit paint inspection confirms scratch depth.
Polishing removes a small amount of surrounding clear coat; it cannot replace missing color or primer.
Exact factory paint codes matter most on metallic, pearl, tri-coat, and matte finishes.
Exposed steel needs prompt sealing because moisture can begin corrosion under the repair.
A touch-up pen usually protects a deep scratch better than it restores an invisible finish.
Typical repair costs range from $20-$60 for light DIY polishing to $300-$1,500 or more for extensive body-shop refinishing.
What a Keyed Car Is
A keyed car has intentional linear paint damage caused by a hard, sharp object such as a house key, coin edge, knife, or tool. A true key scratch usually has a narrow groove with raised or sharp edges, while paint transfer, a parking scrape, or a clear-coat scuff may look dramatic without removing paint.
Automotive finishes usually contain clear coat over a pigmented base coat, primer, and a steel, aluminum, or plastic substrate. The layers are not interchangeable: polishing can level clear coat, but it cannot recreate a missing color layer, and color paint cannot replace corrosion-resistant primer on bare steel.
Why scratch depth changes the repair
A clear-coat scratch is a surface defect. A primer or metal scratch is a coating failure that can permit water, salts, and oxygen to reach the panel. Steel panels require the most urgent protection, whereas a plastic bumper cannot rust but still needs proper adhesion promoter and flexible repair materials.
Paint thickness varies by manufacturer, panel, repair history, and location. The often-quoted clear-coat thickness of roughly 38-50 microns is a typical range, not a specification for every car. A paint-depth gauge gives a better answer than guessing from a scratch’s appearance.
What to Do Before Repair
Photograph the keyed car before washing or touching the damage, preserve nearby security-camera information, and obtain a police report if vandalism or insurance action is possible. Record the date, location, number of panels, approximate scratch length, and any paint transfer or debris.
Insurance procedures differ by policy and jurisdiction. Comprehensive coverage commonly handles vandalism in the United States, but a deductible may exceed the price of a small repair. Notify the insurer before authorizing work if you may file a claim, because polishing or repainting can remove evidence needed for an adjuster.
Temporary protection for exposed metal
Clean loose dirt with water and pH-neutral car shampoo, dry the panel, and cover a narrow exposed-metal scratch with clean automotive masking tape if a repair appointment is imminent. Do not seal dirt, moisture, wax, or rust beneath tape, and do not apply household nail polish, cooking oil, or silicone.
Temporary tape is a short-term barrier, not a repair. Keep the car dry and arrange proper priming or refinishing within several days, especially in wet, salty, or humid conditions.
How Deep Is the Scratch?
A scratch that disappears when wet and does not catch a fingernail is often limited to clear coat; a visible color change, rough groove, or exposed gray, white, black, or metallic surface indicates deeper damage. Inspect after washing, drying, and viewing the panel under direct LED or daylight at several angles.
Inspect the damage
Use this sequence:
- Wash the panel. Use car shampoo, a clean microfiber mitt, and separate towels for dirty and clean areas.
- Dry completely. Water can temporarily hide a white or gray primer line.
- Inspect the edges. A sharp ridge and missing material suggest cutting rather than superficial transfer.
- Run a clean fingernail across the line. Stop if the nail catches sharply.
- Check the exposed color. A different color may be primer, substrate, transfer from the object, or contamination.
- Look for rust. Orange-brown staining, bubbling, or dark pinpoints indicate corrosion or trapped contamination.
- Check panel material. A steel door, aluminum hood, and plastic bumper require different primers.
The fingernail test is a screening method, not a depth measurement. A scratch can catch a nail because its edges are sharp while remaining inside clear coat, and a broad shallow defect can feel smooth while cutting into color. When the finish matters, a detailer or body shop can inspect paint thickness and determine whether sanding is safe.
Scratch classification table
| Visible condition | Probable layer affected | Suitable first response | Typical result |
|---|---|---|---|
| Line disappears when wet; no nail catch | Clear coat only | Compound and polish | 70-100% visual reduction |
| Nail catches lightly; original color remains | Lower clear coat | Conservative machine polish or professional correction | 50-90% reduction |
| White, gray, or dark line; color missing | Base coat and possibly primer | OEM touch-up or spot refinish | Protection with visible repair edge |
| Silver, orange, or bright metal visible | Bare steel or aluminum | Primer, color, clear coat, or body-shop refinish | Corrosion protection required |
| Black textured plastic visible on bumper | Paint through to plastic | Plastic prep, adhesion promoter, color, clear | Rust-free, finish depends on blending |
| Scratch crosses two or more panels | Multiple paint zones and edges | Mobile technician or body shop | Consistent color and panel alignment |
How to Fix a Keyed Car With DIY Materials
DIY repair works best on one narrow scratch, a noncritical older vehicle, and a dry, dust-free workspace between 60°F and 80°F. The highest-quality result depends less on the paint pen than on accurate cleaning, paint-code selection, thin coats, and restraint around the undamaged factory finish.
Before you start
| Requirement | Typical specification | Why it matters |
|---|---|---|
| Time | 1 hour for polish; 2-4 hours plus 24-48 hours curing for touch-up | Prevents rushed recoating |
| Workspace | Shade, 60°F-80°F, low wind, low dust | Stabilizes drying and reduces contamination |
| Cleaning supplies | pH-neutral shampoo, 2 microfiber towels, water | Removes grit without adding scratches |
| Preparation solvent | Automotive wax-and-grease remover or 70% isopropyl alcohol | Removes oils after washing |
| Polishing supplies | Fine or medium compound, foam applicator, 3 towels | Levels clear-coat marks |
| Touch-up supplies | OEM paint, compatible clear coat, micro-applicator, masking tape | Replaces missing coating |
| Sanding supplies | 2500-3000 grit paper, small rigid block, soapy water | Levels cured touch-up cautiously |
| Safety equipment | Nitrile gloves, eye protection, respirator for solvent products | Limits skin and vapor exposure |
Step 1: Clean and degrease the panel
Wash a larger area than the scratch, rinse away grit, and dry with a clean microfiber towel. Wipe the repair line once with an automotive prep solvent or compatible isopropyl-alcohol solution, then allow the surface to flash dry.
Do not use acetone, lacquer thinner, gasoline, abrasive household cleaner, or a rough kitchen sponge. Those products can soften clear coat, stain plastic trim, or leave a second defect that is wider than the original key mark.
You will know it worked when: the surface feels smooth and leaves no oily rainbow when viewed under a light.
Common mistake: wiping a dirty panel with solvent. Solvent does not suspend grit, so the towel can drag particles across healthy paint.
Step 2: Mask only when touch-up paint is needed
Use automotive painter’s tape to protect nearby rubber, trim, handles, and panel gaps. Avoid creating a narrow tape channel around a long scratch because a hard tape edge can make paint buildup more noticeable.
For a tiny isolated chip or deep line, leave the damage accessible without masking the entire panel. A touch-up applicator controlled by hand gives better placement than spraying a whole panel in an unventilated garage.
You will know it worked when: tape protects adjacent trim without touching the area that must receive paint.
Common mistake: masking too tightly and trapping solvent at the tape edge. Remove tape according to the product instructions, usually before the coating fully hardens.
Step 3: Polish clear-coat scratches
Apply a small, pea-sized amount of scratch-removal compound to a foam applicator, not directly across the entire panel. Work a 2-by-2-foot section with overlapping horizontal and vertical passes, moderate pressure, and three to five minutes of controlled hand work.
A dual-action polisher can correct faster, but a rotary polisher creates substantially more heat and can burn through an edge. Keep the pad flat, inspect after each pass, and stop when the line no longer improves. More compound cannot restore missing paint.
Wipe residue with a clean microfiber towel and inspect under direct light. If the scratch remains but the surrounding paint becomes hazy, stop polishing and use a finishing polish or seek professional correction.
You will know it worked when: the reflection is continuous and the line is absent from several viewing angles.
Common mistake: polishing a deep groove until the surrounding clear coat is thin. Paint correction removes material; it does not fill a cut.
Step 4: Stabilize exposed steel, aluminum, or plastic
If the scratch exposes bare steel, remove loose rust only with a fine abrasive on the damaged line, then apply a compatible automotive corrosion-resistant primer in thin coats. Bare aluminum needs an aluminum-compatible or self-etching system specified for that substrate, while plastic bumpers need plastic cleaner and adhesion promoter rather than steel primer.
Follow the product’s recoat window. Typical aerosol and bottle primers require 10-30 minutes between thin coats, but the product label controls because resin chemistry varies.
You will know it worked when: the exposed substrate is covered evenly without runs, pinholes, or visible orange corrosion.
Common mistake: applying color directly to polished bare metal. Color coat may appear to adhere initially but can peel because the substrate lacks the correct primer.
Step 5: Apply exact-match touch-up paint
Find the factory paint code on the driver’s door jamb, under the hood, in the glove box, or in manufacturer service information. VIN-based paint lookup can identify the code, but VIN alone does not guarantee the correct variant when a manufacturer used multiple colors in the same model year.
Shake or mix the paint as directed, especially for metallic and pearl formulas. Test one small dot on a hidden edge or a disposable test card. Apply several extremely thin dabs with a micro-brush or pointed applicator, allowing the specified flash time between coats rather than dragging paint along the groove.
Paint should fill the missing area without spreading across the surrounding clear coat. A slight depression is safer than a thick blob because cured excess must later be leveled.
You will know it worked when: the damaged line is sealed and the color is close under both direct and angled light.
Common mistake: choosing paint by visual color alone. Metallic flakes orient differently during application, and a pearl or tri-coat color may require a separate ground coat and mid-coat that a single pen cannot reproduce.
Step 6: Add compatible clear coat
Apply the matching automotive clear coat only after the color has reached the product’s stated recoat condition. Use thin layers, usually two to three coats, with the label’s specified interval, often 10-20 minutes between coats.
Keep clear coat inside or just over the repaired area. A thick convex mound increases sanding time and can shrink, wrinkle, or trap solvent. Two-component clear products require correct activation, ventilation, and disposal; do not use them casually in a living space.
Allow at least 24 hours before careful handling, and use 48 hours as a safer typical cure period before sanding or washing. Temperature below 60°F, high humidity, and heavy application extend curing.
You will know it worked when: the coating is firm, glossy, and free of fingerprints, wrinkles, bubbles, and solvent smell.
Common mistake: sanding or waxing a soft repair. The abrasive can pull the new coating out, while wax can interfere with later professional refinishing.
Step 7: Level and polish the cured repair
Wet sanding is optional and carries the greatest DIY risk. If the cured touch-up stands above the original surface, use 2500-3000 grit wet paper wrapped around a small rigid block, lubricated continuously with clean soapy water, and make only a few straight passes on the raised repair.
Do not sand with bare fingers, dry paper, coarse 800-1500 grit paper, or a large flexible pad. Check every few strokes, dry the area, and stop as soon as the transition is level. If the surrounding paint becomes dull beyond the repair or the color begins to disappear, stop immediately.
Remove sanding haze with a fine compound and finishing polish, then apply wax or sealant only after the repair has fully cured according to the paint manufacturer’s instructions.
You will know it worked when: the fingertip cannot detect a ridge and the panel reflects light without a sanding halo.
Common mistake: trying to make a touch-up pen invisible by sanding aggressively. A small visible repair is preferable to burning through factory clear coat over a large area.
Which Repair Method Fits the Damage?
The best repair method is polishing for clear-coat-only damage, touch-up paint for a short deep line on an older or low-priority vehicle, and professional refinishing for exposed metal, long scratches, metallic colors, or multiple panels. Cost, finish expectations, corrosion risk, and panel count determine the practical choice.
| Repair option | Suitable damage | Typical materials or labor cost | Typical time | Finish expectation |
|---|---|---|---|---|
| Hand polishing | Clear coat, 1 panel, under 3 feet | $15-$60 | 30-90 minutes | 70-100% visual improvement |
| DIY touch-up | Short line into color or primer | $25-$100 | 2-4 hours plus 24-48 hours cure | Protection with visible close-range repair |
| Mobile SMART repair | One panel, primer or color damage | $150-$450 | 2-5 hours | 80-95% visual improvement |
| Body-shop spot refinish | One panel, deep or complex color | $350-$900 | 1-3 business days | High-quality blended finish |
| Multi-panel body-shop repair | Two or more panels or long vandalism line | $800-$2,000+ | 3-7 business days | Factory-style refinish when properly blended |
Typical prices vary by city, vehicle size, paint system, labor rate, and whether trim must be removed. A black solid-color door often costs less to blend than a pearl-white SUV side with a scratch crossing the door, fender, and quarter panel.
When should you skip DIY?
Choose a professional repair when the scratch exceeds about 2-3 feet, crosses a panel gap, affects two or more panels, exposes widespread metal, has started rusting, or sits on a high-visibility crease. Professional work also makes more sense for tri-coat pearl, matte, satin, and expensive factory finishes because those systems are difficult to blend invisibly.
A detailer can correct clear coat, but a body shop is the better choice when primer, color, substrate, denting, or corrosion is involved. Ask for a written estimate that identifies whether the technician will polish, spot-repair, blend, or repaint the entire panel.
Does the Scratch Need Immediate Repair?
A bare-steel scratch should be cleaned and sealed promptly, ideally within days, while a clear-coat mark can wait if the panel is washed and protected. Rust may begin at exposed steel sooner in rain, road salt, or coastal humidity, and corrosion can spread beneath intact-looking paint.
Aluminum does not form red iron rust, but it can oxidize and develop adhesion problems. Plastic bumpers do not corrode, yet exposed plastic collects contamination and requires the correct adhesion system before repainting.
Insurance, lease, and resale decisions
| Situation | Sensible first action | Main financial issue | Repair priority |
|---|---|---|---|
| Comprehensive insurance, $500 deductible | Obtain estimate before claim | $300 repair may not justify claim | Seal exposed metal first |
| Lease return within 6 months | Request approved repair standard | Unapproved paint may be charged | Professional color match |
| Older car under $5,000 value | Compare DIY and mobile quotes | Perfect blending may exceed vehicle value | Prevent rust economically |
| Luxury or collector vehicle | Photograph and use qualified shop | Factory finish and resale value | Avoid aggressive sanding |
| Vandalism with camera evidence | Preserve evidence and report | Claim documentation may affect reimbursement | Do not polish before photos |
Ask a lease company whether it requires an approved repairer. Some contracts assess scratches by length, depth, and visibility, so a cheap pen repair can fail an inspection if it leaves a raised edge or mismatched color.
Common Mistakes and How to Fix Them
Using compound on missing paint
Compound removes surrounding material but cannot replace a base coat. If the line remains a different color after cleaning, stop polishing and switch to touch-up or professional refinishing.
Using the wrong solvent
Acetone and lacquer thinner can soften clear coat and attack plastic. Remove the damaged product with the manufacturer’s recommended cleaner, then let the panel dry before reassessing; severe swelling or staining requires a body-shop evaluation.
Applying a thick paint-pen blob
Thick paint traps solvent and shrinks unevenly during cure. Let the material harden fully, level only the raised spot with a rigid block and fine wet paper, and polish the transition carefully.
Skipping substrate primer
Color coat over bare steel may look acceptable for weeks before bubbling begins. Remove unstable material, apply the correct primer for steel, aluminum, or plastic, and observe the recoat window.
Sanding the surrounding factory finish
A flexible piece of paper follows fingertip pressure and creates a depression around the repair. Use a small block, lubricate continuously, count strokes, and stop before the repaired line appears level by eye.
Waxing before the repair is cured
Wax and silicone can reduce adhesion if additional paint is needed. Wait for the product’s full cure recommendation, then use a compatible sealant rather than assuming a quick dry-to-touch time means the coating is chemically hard.
Troubleshooting a Failed Repair
| Symptom | Likely cause | Corrective action | Escalation point |
|---|---|---|---|
| Scratch remains after polishing | Paint is missing below clear coat | Stop compounding; use touch-up or refinish | Color absent after cleaning |
| Area looks hazy | 2000-3000 grit sanding marks remain | Fine compound, then finishing polish | Haze reaches panel edge |
| Touch-up peels | Wax, oil, rust, or incompatible primer | Strip loose material, clean, reprime | Peeling spreads beyond repair |
| Color looks too light or dark | Wrong code, application angle, or aged paint | Verify code and test a sample | Pearl or tri-coat mismatch |
| Clear coat wrinkles | Coat too thick or recoated too soon | Allow full cure; remove failed coating | Wrinkle exposes substrate |
| Orange-brown bubbles appear | Corrosion beneath coating | Remove rust and refinish properly | Bubbling extends beyond scratch |
| Repair feels raised | Excess touch-up or clear coat | Cure fully, then level cautiously | Ridge spans a panel crease |
Metallic and pearl mismatch is often an application problem rather than a defective paint bottle. Spray orientation, film thickness, ground-coat color, and the age of the surrounding finish change perceived shade; a professional blends beyond the repair to reduce that contrast.
What Is the Safest Repair for Each Vehicle Type?
A daily driver with solid paint
Use hand polishing for a clear-coat mark and a small OEM touch-up bottle for a short exposed line. This approach protects the panel at approximately $25-$100 in materials, although the repair may remain visible at close range.
A newer metallic or pearl vehicle
Use polishing only when the color layer is intact. For deeper damage, a mobile paint technician or body shop usually produces a better result because metallic flake orientation and pearl layering are difficult to reproduce with a brush.
A matte or satin finish
Do not polish matte paint. Abrasive correction creates a glossier patch that cannot be blended by ordinary waxing; a specialist generally refinishes the affected panel or uses an approved matte repair system.
A plastic bumper
Rust prevention is unnecessary, but adhesion preparation is mandatory. Clean the plastic, use compatible adhesion promoter, apply flexible primer and color, and avoid hard coatings not approved for flexible panels.
The Bottom Line
To fix a keyed car safely, clean and classify the scratch before choosing a product. Polish only clear-coat damage, seal short deeper scratches with correctly matched primer, color, and clear coat, and use a professional for bare metal across long or multiple-panel damage. Photograph vandalism first, protect exposed steel quickly, and avoid aggressive sanding that turns a narrow defect into a full-panel repaint.
Frequently Asked Questions
Can toothpaste fix a keyed car?
Toothpaste may produce a temporary visual change on extremely light clear-coat scuffs, but it is not a controlled automotive polishing compound. Household toothpaste can contain abrasives, detergents, and water that leave haze or residue. Use a formulated automotive compound with a foam applicator and inspect the clear coat after one controlled pass.
How long can I leave a keyed scratch unrepaired?
A clear-coat scratch can usually wait while the vehicle stays clean and dry, but exposed steel should be sealed within days rather than weeks. Rain, road salt, humidity, and existing rust shorten the safe delay. A temporary clean tape barrier can protect the area until a proper repair appointment.
Will car insurance pay for a keyed vehicle?
Comprehensive coverage commonly includes vandalism in the United States, but policy terms, deductibles, exclusions, and local rules control payment. Photograph the damage, obtain a police report when appropriate, and contact the insurer before repair if you may submit a claim. Compare the estimate with the deductible first.
Can a car detailer repair a deep key scratch?
A detailer can often polish clear-coat damage and may offer touch-up work, but a body shop is better for missing color, exposed metal, corrosion, dents, or multi-panel scratches. Ask whether the provider performs paint refinishing or only correction, because polishing cannot replace a removed base coat.
Will a touch-up pen stop rust permanently?
A properly prepared, fully sealed touch-up can protect a small exposed area, but a pen is not a permanent substitute for a correctly primed and blended refinish. Rust, contamination, poor paint-code selection, and thick application can cause failure. Inspect the repair after washing and before winter road-salt exposure.
How much does it cost to repair a keyed car?
Typical costs are $15-$60 for clear-coat polishing, $25-$100 for DIY touch-up materials, $150-$450 for mobile repair, and $350-$2,000 or more at a body shop. The final price depends on scratch length, panel count, substrate, paint complexity, labor rates, and whether blending or trim removal is required.