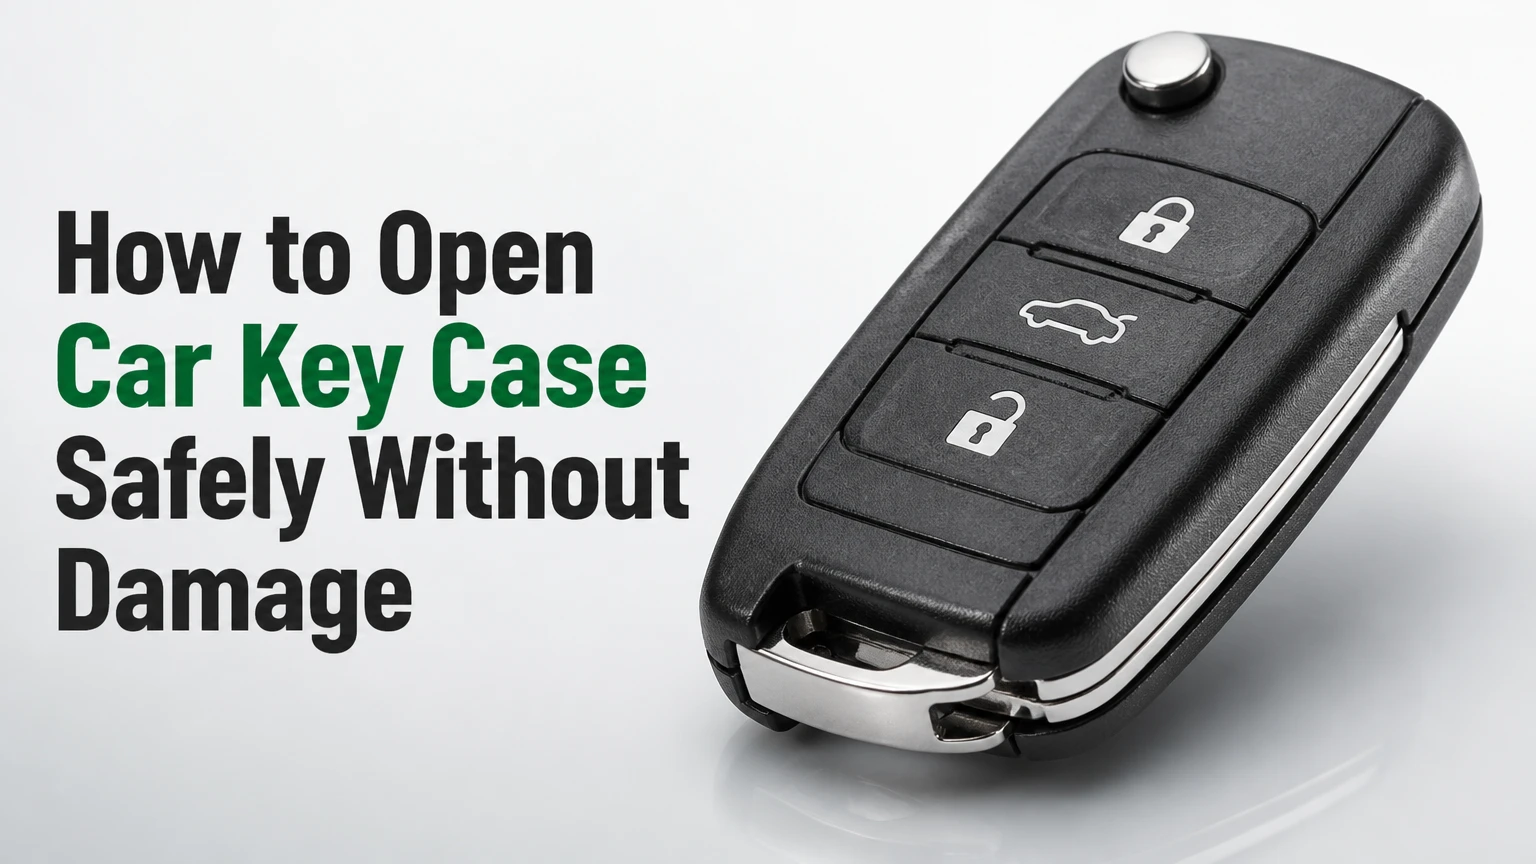
To open a car key case, first identify whether the fob uses a screw, emergency-key slot, flip-key cavity, or outer seam. Remove the emergency blade or screw, then twist a plastic pry tool gently at the designed opening point. Most shells take 1-7 minutes, but the exact method depends on the vehicle, model year, clips, gasket, and immobilizer-chip layout.
Key Facts
A replacement car key case usually costs $5-$30 for an aftermarket shell and $100-$400 for many complete OEM smart keys.
A plastic spudger, guitar pick, or nylon pry tool creates less cosmetic damage than a metal screwdriver.
Opening the shell normally does not erase remote programming because the working circuit board remains installed.
Some older keys contain a loose transponder chip that can fall out when the case separates.
A hidden screw may sit beneath a manufacturer badge, rubber pad, or removable label.
The most important success factor is prying at the molded notch, not forcing the longest section of the seam.
What Is a Car Key Case?
A car key case is the protective outer shell around a key fob’s electronic and mechanical parts. Depending on the vehicle, the shell contains a printed circuit board, coin-cell battery, rubber button membrane, emergency key blade, antenna, and immobilizer transponder.
The outer housing protects those components from impact, dust, skin oils, and limited moisture exposure. The two halves usually join with molded clips, friction-fit posts, ultrasonic welds, or a small screw. A factory-sealed case may have no obvious opening line except a narrow seam around its perimeter.
A remote-control circuit and an immobilizer system perform different jobs. The remote sends commands such as lock, unlock, or trunk release. The transponder authenticates the key to the vehicle’s immobilizer, allowing the engine to start. A damaged button circuit can therefore coexist with a car that starts normally, while a missing transponder can prevent starting even when the buttons work.
What Should You Check Before Opening the Case?
Before opening a car key case, confirm the replacement shell’s shape, blade style, button layout, battery position, and internal mounting points. Gather a plastic pry tool, a precision screwdriver set, a clean tray, and the vehicle’s owner’s manual or fob-specific instructions.
Before You Start
| Requirement | Typical specification | Why it matters |
|---|---|---|
| Working time | 1-7 minutes | Includes opening and transferring electronics |
| Difficulty | Low to moderate | Clip access and chip retention determine risk |
| Plastic pry tool | 1 nylon spudger or guitar pick | Reduces scratches and PCB contact |
| Precision screwdriver | Phillips #0, #00, or 1.5-2 mm flathead | Removes small retaining screws |
| Replacement shell | $5-$30 aftermarket | Must match buttons, blade, battery, and PCB |
| Clean work surface | 30 cm by 30 cm minimum | Prevents loss of a loose transponder chip |
Place the key on a nonconductive surface away from metal filings, liquids, and static-prone synthetic fabric. Photograph the open fob before moving anything. That image records the orientation of the battery, rubber pad, board, and small clips.
Do not begin with a razor blade. A blade can cut a concealed rubber water seal, button membrane, or antenna trace before the seam has opened.
How Do You Identify the Fob Type?
Identify the key design by its external features before choosing an opening point. A removable emergency blade indicates a smart or proximity fob, a folding blade indicates a switchblade design, and a separate remote with no blade usually opens at a visible perimeter notch.
| Fob design | Identifying feature | Usual opening point | Typical time |
|---|---|---|---|
| Smart or proximity fob | Push button start, removable emergency blade | Slot behind the removed blade | 2-5 minutes |
| Flip or switchblade key | Blade folds into the housing | Blade cavity or perimeter seam | 3-7 minutes |
| Standard remote fob | Separate metal key and remote | Outer seam notch | 1-3 minutes |
| Integrated keyhead | Fixed blade and buttons on head | Screw plus side seam | 3-5 minutes |
The categories overlap across manufacturers. Toyota, Lexus, Honda, Ford, Volkswagen, Audi, General Motors, Nissan, Jeep, Hyundai, and Mitsubishi have used multiple case designs across different model years, so the badge alone does not establish the opening method.
Check the number and placement of buttons before ordering a replacement shell. A visually similar case can have different PCB posts, battery clips, blade pivots, or silicone-button geometry.
How to Open a Car Key Case Safely
Open the case by releasing any screw or removable blade first, then applying controlled twisting force at the molded notch. Work around the clips rather than bending one long section, because concentrated force can break the shell, deform the gasket, or crack a circuit-board component.
Step 1: Remove the Emergency Blade or Extend the Key
Press the release slider and pull the emergency key from a smart fob. For a flip key, press the blade-release button and extend the blade fully. A standard remote may have no removable blade, so inspect the entire outside seam instead.
You will know the first step worked when the blade cavity or release area is fully visible. Do not pull on the blade at an angle, because side loading can damage the hinge, release spring, or retaining pin.
Common mistake: Trying to pry around the external seam while the emergency blade remains inserted. The blade can block the internal opening notch and increase the required force.
Step 2: Inspect for a Screw and the Designed Notch
Look inside the empty blade slot, beside the key ring, and beneath the rear label. Search for a Phillips screw, Torx screw, or small molded recess. Some integrated keyheads hide a screw under a rubber cover or brand badge.
Use bright side lighting rather than enlarging the seam with force. A designed notch is usually a short, reinforced depression that accepts a key blade or pry tool; an ordinary seam is thinner and more vulnerable.
Common mistake: Assuming a case is clip-fastened because no screw is visible. One concealed screw can hold both halves tightly enough that prying breaks the surrounding plastic.
Step 3: Release the First Clip
Insert a nylon spudger, guitar pick, or the blunt edge of the emergency blade into the opening notch. Twist the tool slightly, like turning a small key, rather than pushing it deep into the housing.
The first clip should release with a small click or visible gap. Stop if the tool penetrates more than a few millimeters or meets a hard internal obstruction. The battery, PCB edge, gasket, or button membrane may sit directly behind that point.
Common mistake: Using a large flathead screwdriver as a wedge. Metal tools concentrate force on a narrow edge and can leave gouges or contact a battery terminal.
Step 4: Work Along the Perimeter
Keep the first gap open with the plastic tool and slide a second thin pick along the seam. Release one clip at a time, moving approximately 10-20 millimeters between points and avoiding the button side until the shell has visibly separated.
A typical fob opens after two to six clips release. Do not twist the halves in opposite directions more than necessary, because excessive torsion can bend the PCB or displace the rubber gasket.
Common mistake: Pulling the halves apart from one corner. A corner pull loads the nearest clip and can snap its retaining post.
Step 5: Separate the Halves and Secure Loose Parts
Lift the cover slowly and keep the buttons facing upward. Look immediately for a loose black, glass, ceramic, or rectangular transponder chip, especially in older integrated keys.
Place every loose component in a labeled tray. If the circuit board stays in one half, do not drag it across the shell posts. Disconnect or lift it only after noting its original position and orientation.
Common mistake: Turning the opened case upside down over a workbench. A loose immobilizer chip or spring-loaded blade component can fall out unnoticed.
Step 6: Transfer the Electronics to the Replacement Shell
Compare the old and new shells before transferring components. Move the PCB, battery contacts, rubber button pad, transponder chip, key ring insert, and blade hardware only when the replacement case has matching posts and recesses.
Use clean, dry fingers on the edges of the board, or use nitrile gloves if the board is visibly contaminated. Keep the coin-cell battery’s positive and negative orientation identical to the original. Avoid bending the battery tabs.
You will know the transfer is correct when the PCB lies flat, every mounting post aligns, the button pad sits under each button, and the transponder occupies its original pocket.
Common mistake: Treating the replacement shell as a universal fit. Shells with the same button count can still use incompatible boards or different battery holders.
Step 7: Close and Test the Key
Install the rear cover without forcing it, then press around the perimeter until each clip seats. Reinstall the screw if the original case used one, tightening only until snug. Excessive torque can strip the plastic boss.
Test the lock, unlock, trunk, panic, and mechanical blade functions before disposing of the old shell. Then test engine starting or proximity recognition according to the vehicle’s normal procedure.
Common mistake: Testing only one button. A misaligned membrane may allow lock operation while disabling unlock or trunk release.
Which Tool Should You Use?
A nylon spudger or guitar pick is the safest first choice because its broad, nonconductive edge distributes force without readily scratching ABS or polycarbonate plastic. A precision screwdriver is appropriate for a confirmed screw, not as the default wedge for every seam.
| Tool | Typical size | Best use | Main risk |
|---|---|---|---|
| Nylon spudger | 3-6 mm tip | Tight clip seams and PCB-safe prying | Tip can bend on welded shells |
| Guitar pick | 0.5-1.0 mm | Sliding between released clips | Can tear if inserted deeply |
| Emergency key blade | 2-4 mm edge | Manufacturer-designed internal notch | Can scratch metal or plastic |
| Precision flathead | 1.5-2.0 mm | Small screws and reinforced slots | Gouges edges and slips into electronics |
| Coin | 1.7-2.0 mm edge | Wide external notch | Too thick for narrow seams |
| Razor blade | Less than 1 mm | Not recommended | Cuts seals, pads, fingers, and antenna traces |
Experienced automotive locksmiths generally use the least aggressive tool that fits the intended notch. The counterintuitive point is that a thinner tool is not automatically safer: a flexible pick may bend and concentrate force at its tip, while a slightly wider nylon wedge can distribute pressure across the reinforced opening area.
How Much Do Replacement Cases and Repairs Cost?
A DIY replacement shell typically costs $5-$30 and takes 5-15 minutes when the original electronics and blade can be reused. A complete programmed key costs substantially more because it combines a new shell, transponder, remote electronics, blade cutting, and vehicle-specific programming.
| Repair option | Typical part cost | Typical labor or service cost | Programming usually needed |
|---|---|---|---|
| Aftermarket shell only | $5-$30 | $0 DIY | No |
| Shell plus cut blade | $15-$60 | $10-$40 | Usually no |
| Button pad and shell kit | $8-$25 | $0 DIY | No |
| Automotive locksmith shell transfer | $20-$80 | Included or $30-$100 | No if board remains |
| Complete OEM smart key | $150-$400 | $50-$150 | Often yes |
| Dealer replacement key | $200-$600 or more | Often included | Usually yes |
Prices vary by country, vehicle security system, OEM availability, and local labor rates. Luxury proximity keys from BMW, Mercedes-Benz, Porsche, and newer Land Rover models can cost more because the electronics and immobilizer authorization are tightly integrated.
A shell replacement is not a substitute for a failed circuit board. If the board has corrosion, broken solder joints, or water damage, transferring it into a new case may preserve the appearance without restoring operation.
Will Opening the Case Erase Key Programming?
Opening a car key case normally does not erase remote programming or immobilizer authorization when the original circuit board and transponder remain intact. Programming is stored in the vehicle key electronics, not in the plastic shell, although some models require a separate battery-reset or synchronization procedure after power is interrupted.
Remote buttons and engine starting should be tested separately. A fob can lose button operation because of a reversed battery or poorly seated membrane while its transponder still starts the vehicle. Conversely, a remote may lock the doors while a missing or damaged transponder prevents engine authorization.
Do not discard the old shell until the vehicle starts and every button works. If the transponder is separate, preserve its exact pocket and orientation. A locksmith can identify and transfer the chip when its location is unclear.
What If the Case Will Not Open?
If the case will not open, stop increasing force and check for a concealed screw, a second release point, adhesive, or a design that opens through the battery compartment. The safest recovery method is to photograph the seam, confirm the model-year instructions, and use a plastic pick at the manufacturer’s intended notch.
| Symptom | Likely cause | Recovery action |
|---|---|---|
| No gap forms anywhere | Hidden screw or welded housing | Inspect labels, pads, and blade cavity |
| One corner opens only | Clip still engaged | Slide a pick to the next clip |
| Plastic whitening appears | Excessive bending stress | Stop and change opening location |
| Buttons fall out | Cover lifted button-side first | Reassemble the rubber membrane |
| Case closes loosely | Broken clip or post | Replace shell; use tape only temporarily |
| Car will not start | Transponder displaced or damaged | Recheck chip pocket and seek locksmith help |
| Remote remains dead | Battery, contact, or PCB issue | Verify polarity and battery-terminal pressure |
A small amount of electrical tape around a loose shell can keep dust out temporarily, but tape cannot restore impact strength, water resistance, or a broken clip. Replace the case when a retaining post has fractured or the halves separate during normal handling.
What Variations Require Extra Care?
Different key designs create different failure risks, even when the opening action appears similar. Smart keys concentrate risk around the emergency-key slot, flip keys around the hinge and transponder pocket, and integrated keyheads around hidden screws and loose immobilizer components.
Smart or Proximity Fob
Remove the emergency blade, locate the slot inside the blade channel, and twist gently with a plastic tool or the blade’s blunt edge. Keep the gasket seated in its groove when the halves separate, because a displaced seal can allow water into the PCB during rain or pocket exposure.
Push-button-start systems often have a backup procedure for a weak battery, but the exact location varies. The owner’s manual may specify holding the fob against a marked steering-column area or pressing the start button with the fob.
Flip or Switchblade Key
Extend the metal blade fully before searching the cavity seam. Keep pressure away from the hinge, spring, and blade-release button, since those parts often use small posts that are difficult to replace separately.
Volkswagen, Audi, older Ford, Chevrolet, and Hyundai designs vary significantly. Compare the replacement shell’s blade pivot and transponder recess before moving the electronics.
Standard Remote Fob
Find the outer notch, open the battery cover if the design allows it, and use a coin only when the notch is wide enough for the coin’s edge. A guitar pick is safer for narrow seams because it can slide between released clips without levering directly against the PCB.
Standard remotes often use a separate rubber button pad. Align every button dome with its matching shell opening before closing the case.
Integrated Keyhead
Inspect the rear cover for a Phillips or Torx screw, including beneath a small label or rubber insert. After removing the screw, pry near the reinforced blade-side slot and keep the fixed metal blade from twisting against the plastic head.
Older Honda, Toyota, and Mitsubishi keyheads may contain a loose transponder chip. If the car cranks but does not start after the case transfer, inspect the original housing and work area for that chip before replacing the battery again.
Which Problems Can You Fix Yourself?
You can usually fix a cracked shell, worn buttons, missing battery cover, or loose case with a shell and button-pad kit when the original PCB and transponder still function, while a broken key loop may need a fitted cover, reinforced epoxy repair, or replacement shell. A locksmith is the better option for water-damaged electronics, an unknown immobilizer chip, a welded luxury fob, or a key that is your only working copy.
An honest limitation matters here: a cosmetic shell swap cannot repair radio-frequency faults, corroded contacts, failed microswitches, or lost vehicle programming. Opening a sealed proximity fob can also reduce its original moisture resistance if the gasket is torn or the case is not closed evenly.
Use a professional when the replacement requires blade cutting, EEPROM work, dealer-level programming, or immobilizer diagnosis. The service fee is often lower than replacing a damaged smart-key module caused by one uncontrolled pry.
How Do You Reassemble and Verify the Fob?
Reassemble the fob by seating the transponder, PCB, battery, button pad, gasket, and blade hardware in their original positions before pressing the shell halves together. Verify mechanical operation, remote commands, and engine authorization in that order.
Use this final checklist:
- The battery has the correct type and polarity.
- Battery contacts touch the terminals without excessive bending.
- The rubber pad sits flat under every button.
- The PCB aligns with every plastic post.
- The transponder chip occupies its original pocket.
- The gasket remains inside its channel.
- The blade opens, folds, or inserts correctly.
- The case seam closes evenly around its entire perimeter.
- Lock, unlock, trunk, and panic functions respond.
- The vehicle starts or recognizes the fob normally.
If a button works only when pressed hard, inspect the membrane and microswitch alignment rather than changing the battery again. If the case closes but rattles, a chip, spring, or battery retainer may be incorrectly positioned.
FAQ
Can you open a car key fob without a screwdriver?
Yes. A nylon spudger, guitar pick, or emergency key blade can open many clip-fastened fobs without a screwdriver. Use a plastic tool for the seam and reserve a precision screwdriver for a confirmed retaining screw. Do not substitute a knife, because sharp edges can cut the gasket, button membrane, or your hand.
What battery is inside a car key case?
Common key-fob batteries include CR2032, CR2025, CR2016, and CR2450 coin cells, but the correct size depends on the vehicle and fob design. Read the marking on the old battery or check the owner’s manual. Match both the battery type and polarity, since similar-looking cells can have different thicknesses.
Can a replacement shell use the old car key electronics?
A replacement shell can usually use the old PCB, battery contacts, button pad, and transponder when the shell matches the same part number or internal layout. Compare mounting posts, button positions, blade pivot, and battery holder before buying. A visually similar shell may not hold the original electronics securely.
Why does the car start but the key-fob buttons fail?
A car can start while key-fob buttons fail because the immobilizer transponder and remote-control circuit are separate functions. Check battery polarity, contact pressure, button-pad alignment, PCB seating, and shell pressure. If the board has corrosion or a broken microswitch, a new shell alone will not restore remote operation.
Can a dead key-fob battery prevent the car from starting?
A dead coin-cell battery may prevent remote locking and proximity detection, but many vehicles still recognize the transponder through a backup starting procedure. The exact method varies by manufacturer and model year. Consult the owner’s manual for the designated steering-column location or procedure before assuming the key requires programming.
When should a locksmith open the key case?
Use an automotive locksmith when the case has no identifiable opening point, the only working key contains a loose transponder, the electronics show corrosion, or the replacement requires cutting or programming. A locksmith can transfer the chip and board while reducing the risk of losing the vehicle’s only authorized key.
The Bottom Line
To open a car key case safely, identify the fob design, remove any blade or hidden screw, and use a nylon pry tool at the molded notch. Move slowly around the clips, protect the gasket and transponder, and transfer the original electronics into a matching shell. The correct method matters more than force. When the case is welded, damaged, or tied to your only immobilizer key, professional help is the safer choice.