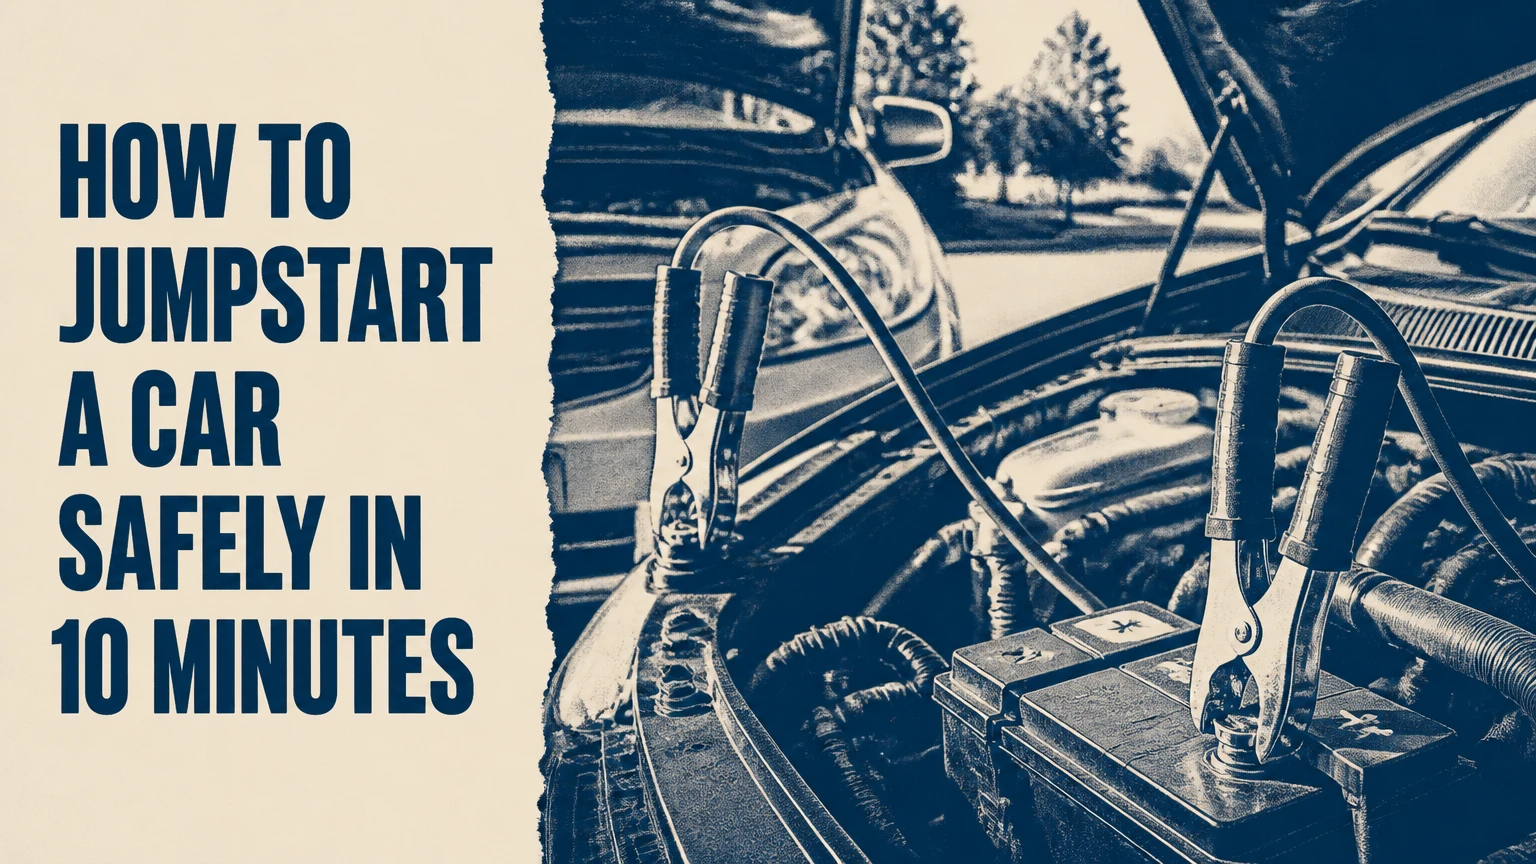
To jumpstart a car, connect a charged 12-volt source to the discharged battery in the correct order, start the donor source, start the disabled vehicle, then remove the cables in reverse order. The procedure usually takes 10-15 minutes, but success depends on correct polarity, solid metal contact, and a battery that is discharged rather than damaged.
Key Facts at a Glance
The standard cable order is positive to the dead battery, positive to the donor battery, negative to the donor battery, then negative to bare metal on the disabled vehicle.
Turn both vehicles off while connecting cables, keep the vehicles from touching, and keep positive and negative clamps apart.
Crank for about 5 seconds at a time, then wait roughly 30 seconds; repeated long cranking can overheat the starter.
A jumpstart starts the engine temporarily. It does not prove that the battery or alternator is healthy.
Remove the cables in reverse order: disabled-car ground, donor negative, donor positive, disabled-car positive.
Never jump a battery that is cracked, leaking, swollen, frozen, or visibly damaged.
What Does a Jumpstart Do?
A jumpstart supplies temporary electrical current to a vehicle whose 12-volt battery cannot provide enough power for the starter motor. The donor battery or jump pack supports the starter circuit while the disabled vehicle’s battery remains connected in parallel.
The starter motor can draw several hundred amperes for a short period, especially in cold weather or with a large diesel engine. A weak battery may still power dashboard lights but lack the current needed to turn the engine fast enough to start.
Once the engine runs, the alternator supplies electrical power to the vehicle. The alternator can restore some charge, but a 20-30 minute drive does not reliably replace the energy removed during a deep discharge. The Battery Council International recommends using a proper charger when a battery needs a complete recharge, because alternator output is designed primarily to operate the vehicle rather than efficiently recover a severely depleted battery.
A jumpstart is therefore a starting aid, not a battery repair. If the battery repeatedly goes flat, test the battery, alternator, starter draw, and parasitic electrical drain.
What Do You Need Before You Start?
You need either a second vehicle with a compatible 12-volt battery and a set of insulated jumper cables, or a charged portable jump starter rated for the engine. You also need the disabled vehicle’s owner’s manual, because many modern cars provide designated positive and negative jump points away from the battery.
Before-you-start checklist
| Requirement | Typical specification | Why it matters |
|---|---|---|
| Jumper cables | 4-gauge or 2-gauge, 12-20 feet | Lower resistance supports high starter current |
| Portable jump pack | 12 volts, 1,000-2,000 peak amps for many cars | Provides a standalone starting source |
| Donor vehicle | Matching 12-volt system | Prevents voltage incompatibility |
| Working area | Level ground, 3-6 feet between vehicles | Controls movement and cable reach |
| Personal protection | Eye protection and dry gloves | Reduces injury from corrosion or arcing |
Switch off both ignitions, headlights, climate control, audio systems, seat heaters, and aftermarket accessories. Put both transmissions in Park, or Neutral with the parking brake firmly applied for a manual transmission; a fully engaged Park position can also help release a stuck ignition key. Keep children and loose clothing away from belts and cooling fans.
Do not proceed if the battery case is swollen, cracked, leaking electrolyte, frozen, or hot from a recent charging fault. Lead-acid batteries can release hydrogen gas, and a spark near the battery can ignite that gas. Move away from traffic before opening the hood, and call roadside assistance if the vehicle is exposed to moving traffic or unsafe weather.
How to Jumpstart a Car With Jumper Cables
Use the following five-step sequence for a conventional 12-volt vehicle. The most important control is polarity: confirm every positive and negative connection before making the final clamp.
Step 1: Position and Prepare the Vehicles
Park the donor vehicle close enough for the cables to reach, but do not allow the vehicles to touch. Place both vehicles in Park or Neutral, apply both parking brakes, turn both ignitions off, and open the hoods.
Locate the positive terminal, marked with a plus sign or a red cover, and the negative terminal, marked with a minus sign. If the battery is hidden, find the manufacturer’s remote jump posts shown in the owner’s manual.
Inspect the terminals and cable clamps. A small amount of white or bluish corrosion can interfere with contact, so brush corrosion from the terminal hardware only when the battery is intact and the area is dry.
You’ll know this step is complete when: both vehicles are stationary, switched off, separated, and their correct jump points are clearly identified.
Common mistake: confusing a red plastic cover with the actual positive jump post, or attaching to a painted bracket instead of conductive metal.
Step 2: Connect the Red Positive Cable
Connect one red clamp to the positive terminal or designated positive jump post on the disabled vehicle. Attach the other red clamp to the positive terminal or positive jump post on the donor vehicle.
Keep the unattached black clamps away from both red clamps and from the vehicle body. The positive connection comes first because it reduces the chance of accidentally creating a short circuit while the negative side is being grounded.
You’ll know this step is complete when: both red clamps are firmly seated on verified positive points and cannot slide off.
Common mistake: attaching the first red clamp to the disabled vehicle’s negative terminal because the battery layout is reversed from another car.
Step 3: Connect the Black Cable and Ground the Disabled Vehicle
Attach one black clamp to the negative terminal of the donor battery. Attach the remaining black clamp to a clean, unpainted, solid metal point on the disabled vehicle’s engine block or chassis, away from the battery.
The owner’s manual takes priority. Some vehicles specify a dedicated negative jump post, and that post should be used even when it is close to the battery. The remote ground point can reduce sparks near a battery that may be releasing hydrogen gas, but every vehicle manufacturer does not use the same layout.
Do not attach the final black clamp to a thin sheet-metal panel, a painted fastener, a fuel line, a moving engine component, or an aluminum part that the manual excludes.
You’ll know this step is complete when: all four clamps are secure, no clamp touches another clamp, and the final black connection is on the manufacturer-approved ground.
Common mistake: clamping directly to the disabled battery’s negative terminal without checking the manual. The generic engine-ground method is safer for many conventional cars, but designated jump points override generic instructions.
Step 4: Start the Donor and Disabled Vehicles
Start the donor vehicle and let it idle for about 2-5 minutes. Do not routinely rev the donor engine, because modern charging systems regulate output and high engine speed can increase electrical or mechanical risk without solving a poor connection.
Try to start the disabled vehicle for approximately 5 seconds. If the engine does not start, stop and wait 30 seconds before another attempt. After two or three attempts, allow another 5-10 minutes of connection time, then inspect the clamps instead of continuing to crank.
A healthy connection usually produces a stronger crank after the donor has run briefly. Rapid clicking indicates low voltage at the starter, which can result from weak contact, a severely discharged battery, or a starter fault.
You’ll know this step is complete when: the disabled engine starts and continues running without repeated stalling.
Common mistake: holding the key or start button for 10-15 seconds repeatedly. Long cranking overheats the starter and can discharge both batteries.
Step 5: Remove the Cables in Reverse Order
Keep the newly started vehicle running. Remove the clamps in this order:
- Black clamp from the disabled vehicle’s ground point.
- Black clamp from the donor battery’s negative terminal.
- Red clamp from the donor battery’s positive terminal.
- Red clamp from the disabled vehicle’s positive terminal.
Keep each removed clamp away from the vehicle body and the other clamp. Do not allow the engines to touch while cables remain connected.
After removal, switch off unnecessary electrical loads and drive the restarted vehicle for at least 20-30 minutes if the battery is not known to be damaged. A proper battery charger is more effective than driving when the battery has been deeply discharged.
You’ll know this step is complete when: all clamps are removed, the engine continues running, and no warning light or electrical symptom appears.
Common mistake: removing the red positive clamp first from the disabled vehicle. Reverse the connection sequence instead.
Which Jumpstart Method Should You Use?
Jumper cables are the least expensive option when another compatible vehicle is available. A portable jump pack is faster and avoids relying on a stranger, while roadside assistance is the best choice when the battery is damaged, the vehicle is in an unsafe location, or the driver is uncertain about the connection points.
| Method | Typical cost | Typical time | Suitable output | Main limitation |
|---|---|---|---|---|
| 4-gauge jumper cables | $15-$40 | 10-15 minutes | 400-600 starting amps in many passenger-car setups | Requires a donor vehicle |
| 2-gauge jumper cables | $25-$70 | 10-15 minutes | Better support for large engines and cold weather | Heavier and less compact |
| Lithium jump pack | $40-$150 | 2-5 minutes | 1,000-4,000 advertised peak amps | Must remain charged and compatible |
| Roadside assistance | $50-$150 per call, typical | 30-60 minutes arrival | Commercial 12-volt booster equipment | Arrival time and service cost |
| Battery replacement service | $120-$350, typical | 30-90 minutes | New battery plus installation | Does not address alternator or drain faults |
Advertised peak amperage on lithium jump packs is not directly comparable between brands. Cold-cranking amps, cable quality, battery condition, temperature, and engine displacement determine real-world performance.
How many amps does a jump starter need?
Many four-cylinder gasoline cars can be supported by a reputable 1,000-1,500 peak-amp jump pack, while larger gasoline engines, diesel engines, and cold climates justify a higher-rated model. Check the manufacturer’s engine-size rating and prefer a pack with reverse-polarity protection and a charge indicator.
A jump pack is not suitable simply because its printed peak number is large. A poorly stored lithium battery can lose usable capacity, and a pack left in a hot vehicle may age faster. Recharge the unit every few months according to its instructions and inspect the clamps before carrying it on a long trip.
Can You Jumpstart an Automatic, Manual, or Hybrid Vehicle?
Automatic and manual cars can generally receive a conventional jump through their 12-volt system, but if you need to start without the key, vehicle security determines the safe method; manual transmission bump-starting is a different procedure and can damage the drivetrain or fail on modern vehicles. Hybrid vehicles also use a 12-volt battery for computers and contactors, but their high-voltage systems must never be connected to another vehicle.
| Vehicle situation | Correct approach | Do not do this |
|---|---|---|
| Automatic gasoline car | Use approved 12-volt jump points | Push-start the automatic transmission |
| Manual gasoline car | Use cables or a jump pack | Assume a bump start fixes a failed battery |
| Hybrid vehicle | Jump only the specified 12-volt battery or posts | Touch orange high-voltage cables |
| Full battery EV | Follow the owner’s 12-volt procedure | Use the traction battery as a donor source |
| Diesel pickup | Use heavy cables or a high-output pack | Use a small pack below its diesel rating |
| Stop-start vehicle | Use the specified AGM or EFB jump points | Replace the battery with the wrong chemistry |
Hybrid and EV owners should read the manual before connecting anything. The 12-volt battery may be in the trunk, under a seat, or behind a service panel, and an incorrect connection can prevent the high-voltage system from activating even when the traction battery is charged.
Never use a 24-volt commercial system on a standard 12-volt passenger vehicle. Voltage mismatch can damage control modules, fuses, sensors, and battery components.
Can You Jumpstart a Car in Rain?
A car can usually be jumpstarted in light rain when the battery, terminals, and cable connections are intact, but standing water, flooding, lightning, or soaked electrical components make the procedure unsafe. Water does not remove the need for correct polarity and secure clamps.
Keep the jump pack dry, place it on a dry surface, and avoid kneeling in water while handling exposed metal. Do not jump a submerged vehicle or a vehicle with water inside the engine bay. Roadside assistance is safer when visibility is poor, traffic is close, or lightning is present.
Why Won’t the Car Start After a Jump?
A car that will not start after a correct jump may have a bad battery, poor cable contact, starter failure, charging-system fault, immobilizer issue, fuel problem, or engine fault. The sound and dashboard behavior help separate low-voltage problems from non-battery failures.
| Symptom after connection | Likely cause | Next action |
|---|---|---|
| Rapid clicking | Weak contact or deeply discharged battery | Clean and reseat clamps, wait 5-10 minutes |
| One heavy click | Starter solenoid or starter motor fault | Stop repeated attempts and request diagnosis |
| No lights or sound | Incorrect posts, open fuse, disconnected battery | Recheck polarity and battery connections |
| Engine cranks normally but does not start | Fuel, ignition, immobilizer, or engine issue | A jump is unlikely to solve it |
| Starts, then dies immediately | Alternator, battery connection, or immobilizer fault | Test charging voltage and arrange service |
| Jump pack shuts off | Protection mode or poor clamp contact | Reconnect to clean metal and follow pack instructions |
If the car starts only while the donor cables remain connected, the disabled battery may have an internal failure or the alternator may not be charging. Turn on the headlights briefly after cable removal only if the vehicle manual permits it, and watch for a battery warning lamp, dimming lights, or unstable idle.
A battery warning light while the engine runs points toward the charging system, not simply a low battery. Driving farther can leave the vehicle stranded when the battery’s remaining reserve is exhausted.
What Mistakes Make a Jumpstart Dangerous?
The most damaging mistake is reverse polarity, connecting a positive source to a negative terminal or vice versa. Reverse polarity can blow fusible links and electronic modules before the operator realizes what happened.
Avoid these failure modes:
- Clamps touch while connected: Disconnect the power source or stop the procedure before moving clamps. A short circuit can create intense heat and arcing.
- Final negative clamp goes on a damaged battery: Use the manufacturer’s ground post or solid engine metal when specified.
- Vehicles touch: Separate them before connecting cables because body contact can create unintended current paths.
- Battery is frozen or swollen: Do not jump it. A damaged battery can rupture or vent violently.
- Cable reaches a belt or fan: Route cables around moving components before starting either engine.
- Repeated long cranking: Use short attempts with cooling intervals to protect the starter and cables.
A practical technician’s rule is to identify all four connection points before touching a clamp. Most errors happen because the operator begins connecting while still searching for the correct terminals.
What Should You Do After the Car Starts?
Drive for 20-30 minutes only as a temporary measure, then have the battery and charging system tested within the next day. A battery charger can restore a deeper charge more reliably than the alternator, particularly after the battery was fully discharged.
A typical service check measures resting battery voltage, cranking performance, alternator output, and parasitic draw. A fully charged conventional 12-volt battery often rests near 12.6 volts after sitting, while a running vehicle commonly measures roughly 13.5-14.8 volts at the battery, although smart charging systems vary by temperature, load, and vehicle design.
Do not treat those voltage figures as a diagnosis by themselves. A battery can display normal resting voltage and still fail under load, while a smart alternator can intentionally reduce charging voltage. Use a conductance or load test and the vehicle’s specified diagnostic procedure.
If the battery is more than three to five years old, repeated discharge makes replacement more likely. If a newer battery goes flat overnight, inspect for parasitic drain, loose terminals, a failing alternator diode, or short-trip use.
How Much Does a Jumpstart Cost?
A self-service jump using existing cables costs nothing beyond time, while a new cable set typically costs $15-$70 and a portable jump pack typically costs $40-$150. Professional roadside assistance commonly costs $50-$150 for a one-time call, with membership pricing varying by provider and region.
| Situation | Typical out-of-pocket cost | Typical completion time | Best decision |
|---|---|---|---|
| Friend provides donor car | $0 | 10-20 minutes | Use correct cable procedure |
| Buy basic jumper cables | $15-$40 | 10-15 minutes | Keep them in the vehicle |
| Buy a lithium jump pack | $40-$150 | 2-5 minutes | Best for isolated or solo travel |
| Roadside membership call | Included or low service fee | 30-60 minutes arrival | Best when already enrolled |
| Battery replacement at roadside | $120-$350 | 30-90 minutes | Appropriate after confirmed battery failure |
Prices vary by country, vehicle size, battery type, and service provider. A jump that gets the engine running may still lead to a second expense if testing identifies a failed battery or alternator.
How Can You Prevent Another Dead Battery?
Prevent repeat failures by testing an aging battery, reducing repeated short trips, cleaning secure terminals, and storing a charged jump pack or suitable cables. A maintainer can help vehicles that sit for weeks, while a parasitic-drain test is needed when the battery repeatedly loses charge while parked.
Check that interior, trunk, and glove-box lights turn off. Confirm that dash cameras, USB adapters, alarms, and aftermarket audio equipment enter their intended sleep mode. In cold climates, battery capacity falls while engine cranking demand rises, so preventive testing before winter has practical value.
A jump pack is the best standalone choice for drivers who travel alone or through rural areas. Jumper cables remain the lowest-cost backup when another vehicle is readily available. Neither option replaces a battery inspection after a second discharge.
Frequently Asked Questions
Can I jumpstart a car without another car?
Yes. A charged 12-volt lithium jump starter can replace the donor vehicle. Match the pack to the engine size, connect its positive and negative clamps to the approved jump points, switch the pack on only when instructed, and remove it after the engine starts.
Which cable goes on first when jumpstarting?
The red positive cable goes on first. Connect it to the disabled battery’s positive post, then the donor battery’s positive post; connect black to the donor negative and the final black clamp to the disabled vehicle’s approved ground point.
Should I turn off the donor car before removing cables?
The donor vehicle may remain running while cables are removed, following the reverse connection order. Keep the newly started vehicle running, prevent clamps from touching, and follow the owner’s manual if it specifies a different sequence for remote terminals or sensitive electronics.
Can a jumpstart damage the alternator?
A jumpstart does not normally damage a healthy alternator, but reverse polarity, a short circuit, an incorrect 24-volt source, or severely damaged battery can damage charging components and electronic modules. A jump also makes the alternator work harder after discharge, so test the system if the battery warning light appears.
How long should I wait before trying again?
Wait about 30 seconds between five-second cranking attempts. If the engine still does not start after two or three attempts, leave the cables connected for another 5-10 minutes and check the clamps, ground point, battery condition, and vehicle symptoms.
Is a jumpstart enough to recharge a dead battery?
No. A jumpstart supplies enough temporary current to start the engine, while a charger restores the battery more completely. Drive for 20-30 minutes only as a temporary measure, then test or charge the battery, especially after a full discharge.
The Bottom Line
How to jumpstart a car safely depends on correct polarity, an approved ground point, short cranking attempts, and reverse-order cable removal. Use a compatible 12-volt source, avoid damaged batteries and high-voltage components, and arrange a battery and alternator test after the vehicle starts. A successful jump gets the engine running, but it does not explain why the battery went dead.